ENTER YOUR EMAIL ABOVE SO YOU DON'T MISS UPCOMING SALES, CRAFT KITS, COUPONS AND MORE!

Tuesday, July 2, 2013

FIRECRACKER TUTORIAL

HAPPY 4TH OF JULY!

6/14/17:  You can order the Vinyl for a set of
3 Fire Crackers
HERE: https://form.jotform.us/71293567984169
You will receive 12 red stripes and 6 white stars for $10

(plus $6.00 flat rate shipping for all vinyl ordered at one time)
 
Ok, so I have had a bunch of people ask me HOW I made these adorable
Firecrackers for my front step!
I had not planned on doing a tutorial since they were just for ME, so I did not take pics of my work. :(
 but I will post what I can to make it as easy for you as possible!!

First of all I was browsing good ol' Pinterest and stumbled across this Firecracker Tutorial HERE
I fell in LOVE with them and knew right away it would be my next craft project!
 I did however want mine a little bit more rustic/country so I switched mine up a bit to fit my decor.  I did not follow her steps, I am more of a "wing it" kind of girl.. The fastest and easiest way is best for me and her tutorial was over my head! lol... too perfectly detailed and precise for me...
I just grabbed some spray paint and went for it! ;)
You will need:
-4x4 post
-White Paint
-Blue Paint
-Red Vinyl stripes
-White Vinyl Stars
-Rope for fuse
-Raffia
-Sander for edges
-Ink Pad for edges (optional)
-Painters tape
-1" wood boring bit
-Glue gun
TO ORDER THE RED STRIPES
AND WHITE STARS
FOR THIS PROJECT
EMAIL:  mytalkingwalls@yahoo.com
$10 for 12 red stripes and 6 white stars
(plus shipping)


1.  Cut 3 pieces from your 4x4 post.
30" for tallest firecracker
22" for middle firecracker
16" for smallest firecracker

2.  Spray paint all 3 sticks white. 
Spray the whole piece, all 4 sides and ends.

3.  Once your white is dry, you will paint the blue on.
You will need to measure down from the top of each firecracker and tape off with painters tape.
I only used a strip or two of tape where I measured, enough to keep the blue away from the white.
I used a paint brush on this part to paint on the blue.
So you will need to measure down from the top:
9" on the tallest firecracker
7"  on the middle firecracker
5.5"  on the smallest firecracker
Make sure to paint the tops blue as well and don't worry if it is not a PERFECT blue line when you remove the tape, the raffia will cover up any messy parts! ;)


4.  Apply White Vinyl Stars 

5.  Apply Red Stripes on each side of Firecracker


6.  Sand and distress your edges
This gives it the Antiqued look.


7.  Drill out a hole in the top of each firecracker for the "fuse" to stick out of
 I used a 1" wood boring bit and drilled out a hole about 1 1/4″ deep.

8.  Place the rope into your drilled out hole.
I just cut  a piece of rope off, no exact measurements.
I also put some hot glue down in the hole to help keep the rope in there secure.


9.  Tie raffia around your fireworks where the blue line meets the white paint.
I used a little bit of hot glue on the back sides to secure the raffia to the wood.


All finished and cute, cute, cute!!!!
 You can order the Vinyl for a set of 3 Fire Crackers at mytalkingwalls@yahoo.com
You will receive 12 red stripes and 6 white stars for $10
plus shipping.

HERE IS A GREAT VIDEO TUTORIAL
A FRIEND OF MINE MADE FOR YOU TO WATCH AND LEARN HOW TO MAKE YOUR OWN SET OF FIRECRACKERS!!!!  :)
http://youtu.be/svBXUhmqiLk


Here are some more fun, crafty decorating I did over the weekend...


HAPPY 4TH!!

Saturday, June 15, 2013

Out of Office

We are on Vacation until June 21st.
Be back soon! ;)

Friday, May 10, 2013

Teacher Gift

YOU ARE THE
SPRINKLES
TO MY
CUPCAKE!
We wanted to do something a little different this week for our Teachers...

Tuesday, April 23, 2013

Teacher Appreciation Week 2013

Teacher Appreciation Week is
May 6th-10th!
This cute little Sign is the perfect size to sit on a Teacher's desk or shelf!

$7.50
Kit Includes:
5.5" X 6" Wood
Vinyl Letters as shown
Yellow Chevron Paper
Red Ribbon
Instructions: Here

**These will be ready to ship on Monday 4/29 or
local pick up in Twin Falls and Boise**

To Order:

Mother's Day

MOTHER'S DAY
PHOTO BOARD KITS

Oh My!
Mother's Day is sneaking up on me!
Need a last minute gift?
We've got you covered!
**These will be ready to ship on Monday 4/29
or pick up locally in Twin Falls and Boise!!**

Kits Include:
7.25" X 14" Wood
4" X 6" Clear Photo Frame
Black Vinyl Lettering
Ribbon for bottom of frame
Instructions:  Here

Order Your Kits Here:


#1
Forever a Family Kit
$9.50 ea.

#2
Mom Blessings Kit
$9.50 ea.

Don't forget Grandma!!!

#3
Grandma Blessings Kit
$9.50 ea.
**This can be changed to read "Nan" or "Nana"
or My Greatest Blessing call Me Grandma
ect. ect.**

#4
Grandma's House Kit
$9.50 ea. 

To Order: 

Wednesday, March 27, 2013

Easter Projects

The Easter Bunny Is Coming!!!
My friend and I made a couple Easter Crafts last week so I thought I would share them with you
Today since Easter is on Sunday!
This first one is a fun lil' idea I saw on Pinterest and knew
I just HAD to make one for my kids!
I love doing Holiday Countdowns so I knew the kids would LOVE IT!
Here is where I got the idea from:  http://pinterest.com/pin/220746819207453442/
I filled the eggs with Candy or a note for a fun Easter Activity like Go on an Easter Egg Hunt, or Decorate Easter Eggs.  Some eggs had a more spiritual message like a scripture about the Resurrection.
(OOPS!   I put my eggs on backwards for this pic!!
They should start with 12 like a COUNTDOWN! LOL!)
Next up is my Friend's Board.
She loved my Easter Egg Board we did as a Kit last month, but wanted it bigger.
So we used a 12" x 24" board and made a larger version of my Happy Easter Sign! 
 Since I already had the Happy Easter Egg Board for my mantle, I used the same size board but changed up my design so I had something different!
And this is what I came up with... 

HAPPY EASTER EVERYONE!


Monday, February 25, 2013

EASTER DIY CRAFT KITS 2013

Easter will be here before we know it!
So here are 4 DIY Easter Craft Kits I have to offer!!

PLEASE TAKE NOTE:
*I can ship up to 3 of these kits for just $6.00!
*I will be in Twin Falls March 9th if you want me to bring your kits and save shipping costs.
*The first 11 people to order 2 or more kits will receive a FREE Lucky Board below... 
*The instructions to make all these kits are always posted under "Monthly Craft" Here:
*You can order any of these kits by emailing:  mytalkingwalls@yahoo.com


1.
"HAPPY EASTER" EGG BOARD
$7.50
Kit Comes With:
-5.5"x 8" wooden board
-White Happy Easter Vinyl Lettering
-Wooden Egg
-Scrapbook Paper for the egg 
(25 AVAILABLE)
SOLD OUT!

Vinyl Only Still Available for:
$3.00

2.
EASTER EGG TRIO
$5.00
Kit Comes With:
3 wooden blocks 3.5" x 3.5"
3 Vinyl Eggs in (1)Purple, (1)Yellow, (1)Pink 
(20 AVAILABLE)
SOLD OUT!

Vinyl Only Still Available for:
$2.00

3.
HIPPITY HOP BUNNY BOARD
$6.00
Kit Comes With:
Wooden Board 7.5" x 7.5"
Purple Vinyl Bunny and Lettering 
(15 AVAILABLE)
SOLD OUT!

Vinyl Only Still Available for:
$3.00

4.
CHOCOLATE BUNNY BLOCK
$4.50
Kit Comes With:
Wooden Block 2"x4"x"6"
Chocolate Brown Vinyl Bunny
Chocolate Brown Ribbon
(20 AVAILABLE)
SOLD OUT!

Vinyl Only Still Available for:
$1.50

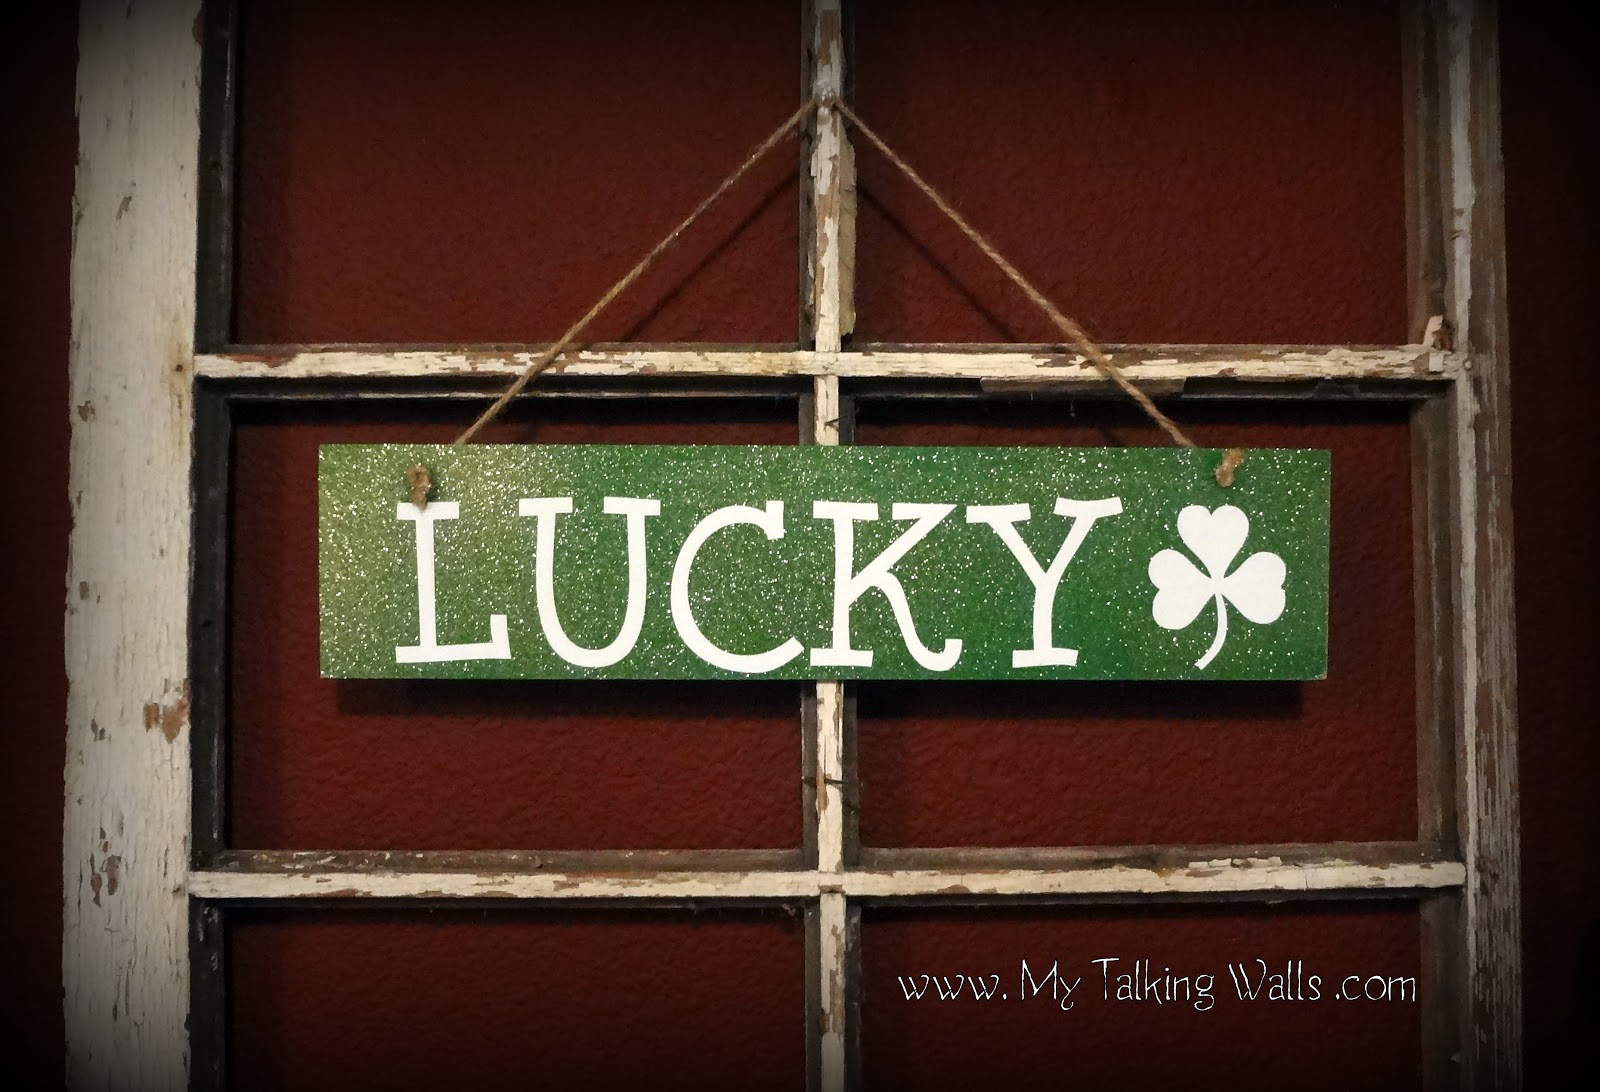
THE FIRST 11 PEOPLE TO ORDER 2 OR MORE KITS WILL RECEIVE THIS LUCKY BOARD FREE!

Congrats to:
1. Christy K.
2. Julie H.
3. Lynda B.
4. Michelle S.
5. Ali K.
6. Stephanie S.
7. Megan W.
8. Trina B.
9. Shari C.
10. Melissa G.
11. Allison L.
For being the FIRST 11 people to order two or more kits and winning a FREE Lucky Sign!

 
You can order any of your kits by email:

THANK YOU FOR LOOKING!!!


Sunday, February 24, 2013

LUCKY YOU!

In the Morning I will be posting
4 Easter Craft Kits.
The FIRST 11 people to order 2 or more kits will receive this cute St. Patty's Day Sign FREE! :)
I have 11 boards made up
and ready to give away to
the first 11 "LUCKY" people
so check back tomorrow morning!! ;)

Thursday, February 14, 2013

Healthy Class Treat for Valentines Day!

As I walked into the grocery store today looking at my watch, I realized I did not have time to make the Chocolate Covered Strawberries for my Son's class party as I had planned.
Now I needed a quick "Healthy" alternative.
So as I stood in the produce aisle thinking, I remembered I had some cupcake toppers and liners at home and since the RED apples were right in front of me, I thought I could whip up a cute Healthy treat for the kids!
This is how it turned out:
 I liked them so much a made a few extras for our family to enjoy during our
Valentines Dinner at home!  ;)
Happy Love Day Everyone!


Saturday, February 9, 2013

HOME DECOR

JUST A HANDFUL OF SOME OF THE CRAFTY HOME DECOR PROJECTS WE'VE MADE OVER THE YEARS!
TO SEE MORE OF OUR PICS, CLICK THE PHOTO'S TAB ABOVE OR VISIT OUR FACEBOOK PAGE FOR LOTS MORE PICS!